Purchase Module
Access Purchase Module
Click on Purchase Icon from Main Screen
Basic Layout
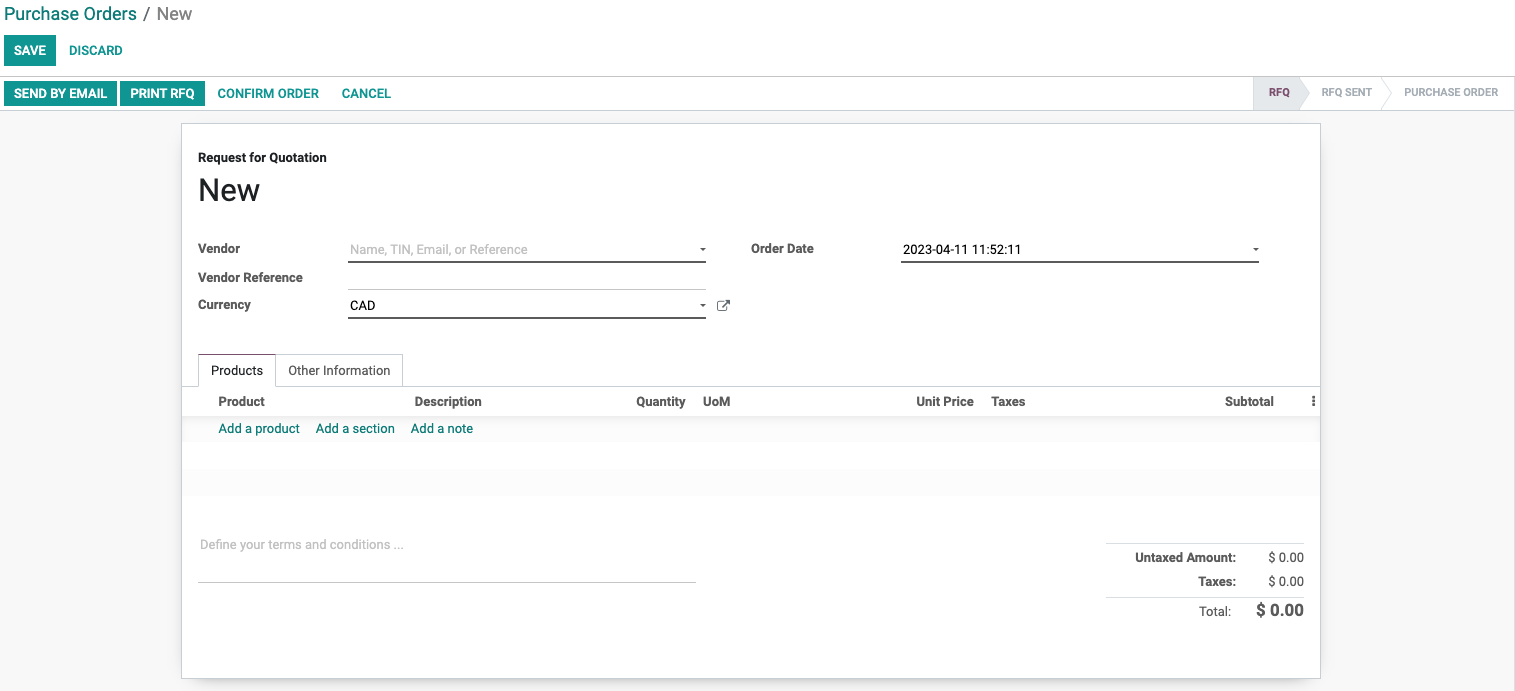
Create Purchase Order
Open Purchase Orders Template
Click on Orders from Top Menu
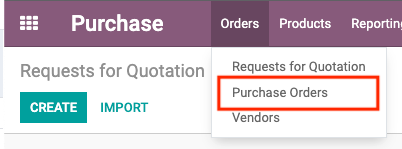
Choose Purchase Orders from Drop-down Menu
Vendor Information

Vendor: Choose the vendor from the drop-down menu
Vendor Reference: Reference of the Sales Order or bid sent by the vendor
Currency: Currency accepted by the vendor
Order Date: Date when the Quotation should be validated and converted into a purchase order
Source Document: Reference of the document that generated this purchase order request. i.e a reordering rule.
Product Information
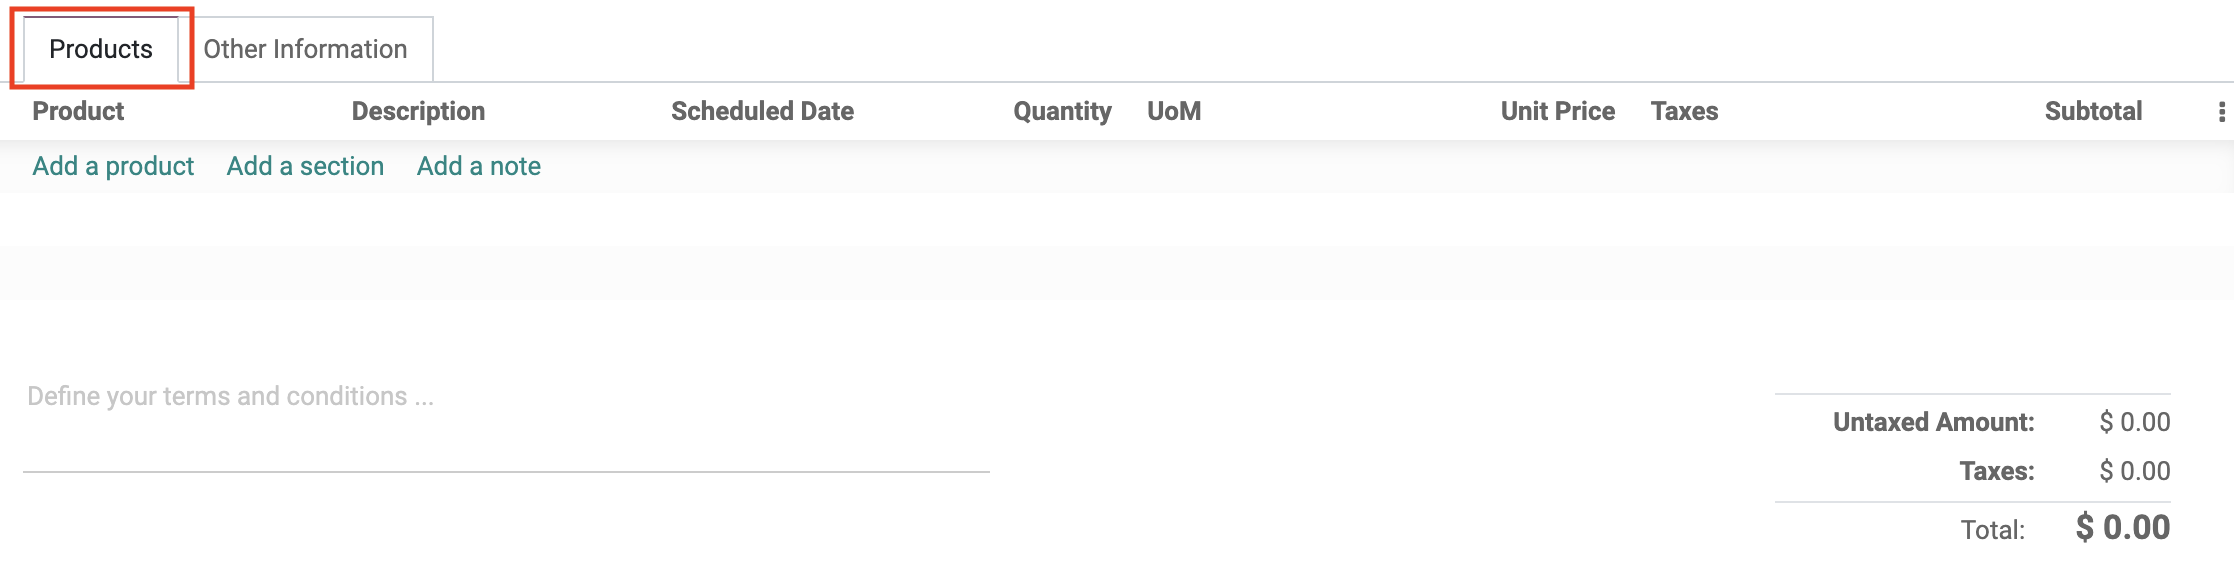
Add a product: Add a product to the purchase order
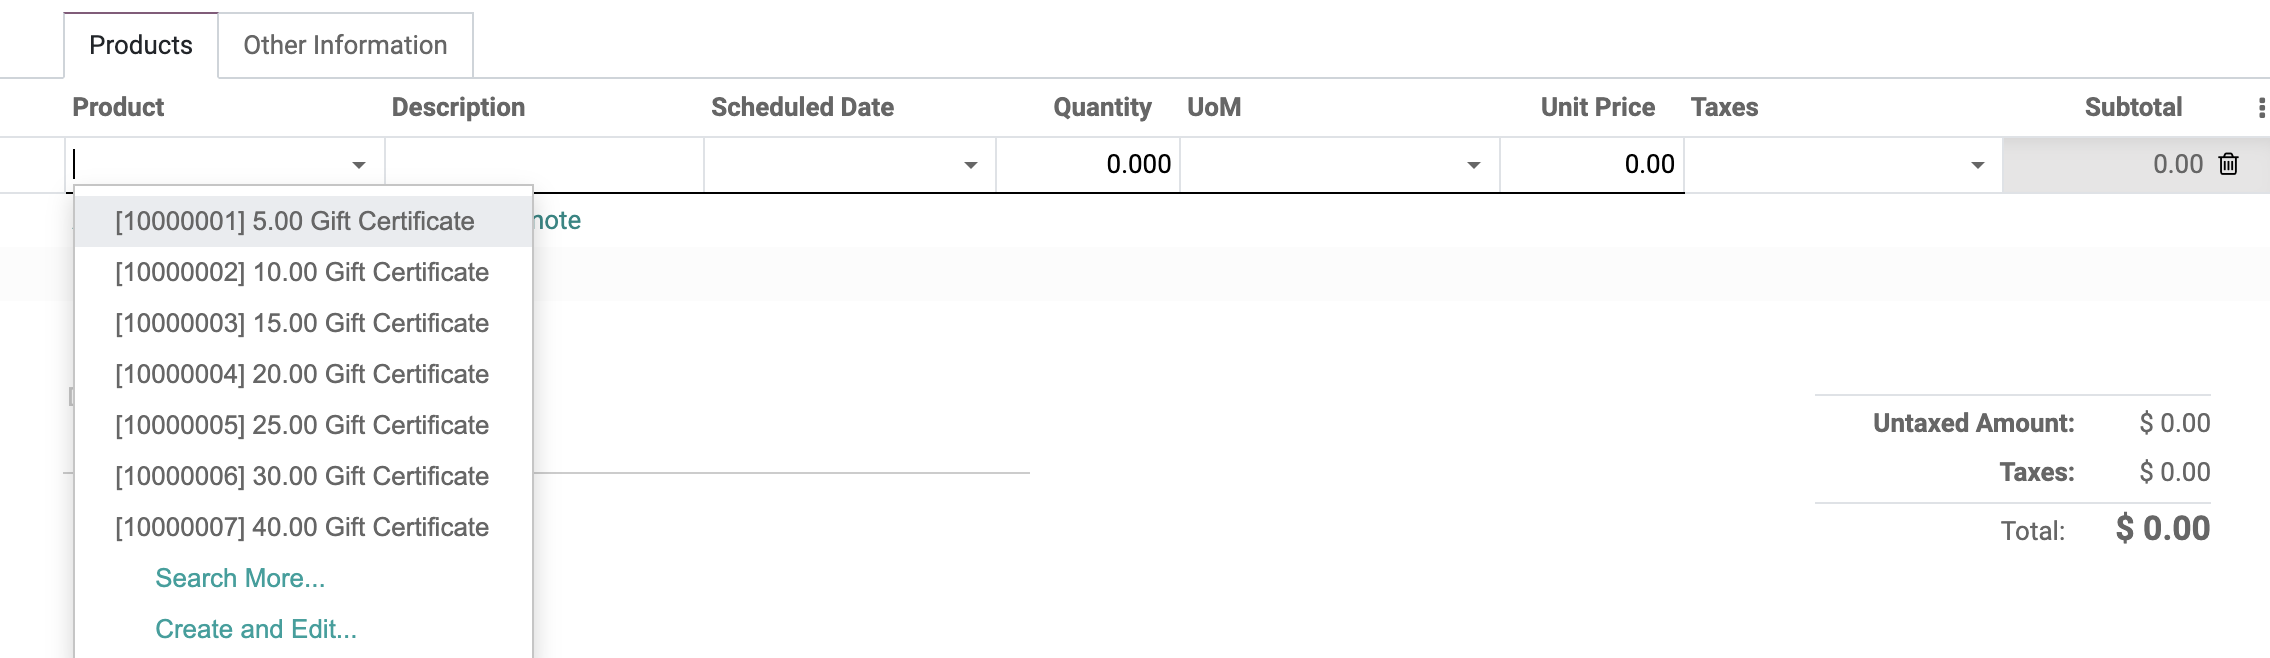
Add a section: Add a divider to define sections

Add a note: Add a note to the order line

Available Fields for Order Line

Product: Name and Internal Reference Number of the product
Description: Description of the product
Scheduled Date: Expected Time of Arrival of the product
Analytic Accont: Account used for costing purpose
Analytic Tags: Tags used for Analytic Distribution
Quantity: Quantity of the product to order
UoM: Unit of Measure of the product
Unit Price: Unit price of the product
Taxes: Taxes associated with purchasing of the product
Other Information
 Receipt Date: Expected arrival time of products
Deliver To: Operation type of incoming shipment
Incoterm: Terms used in international transactions
Purchase Representative: Responsible purchaser for the purchase order
Payment Terms: Invoice payment term
Confirm Order
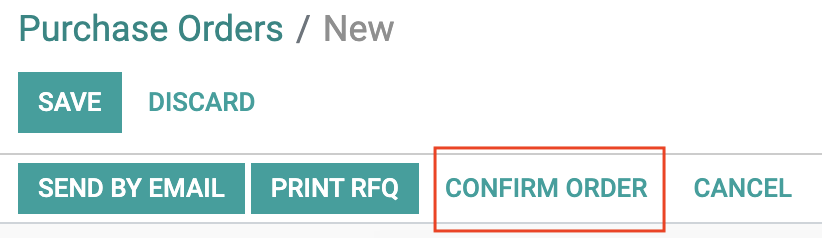
Once Done, click on CONFIRM ORDER to convert RFQ into Purchase Order
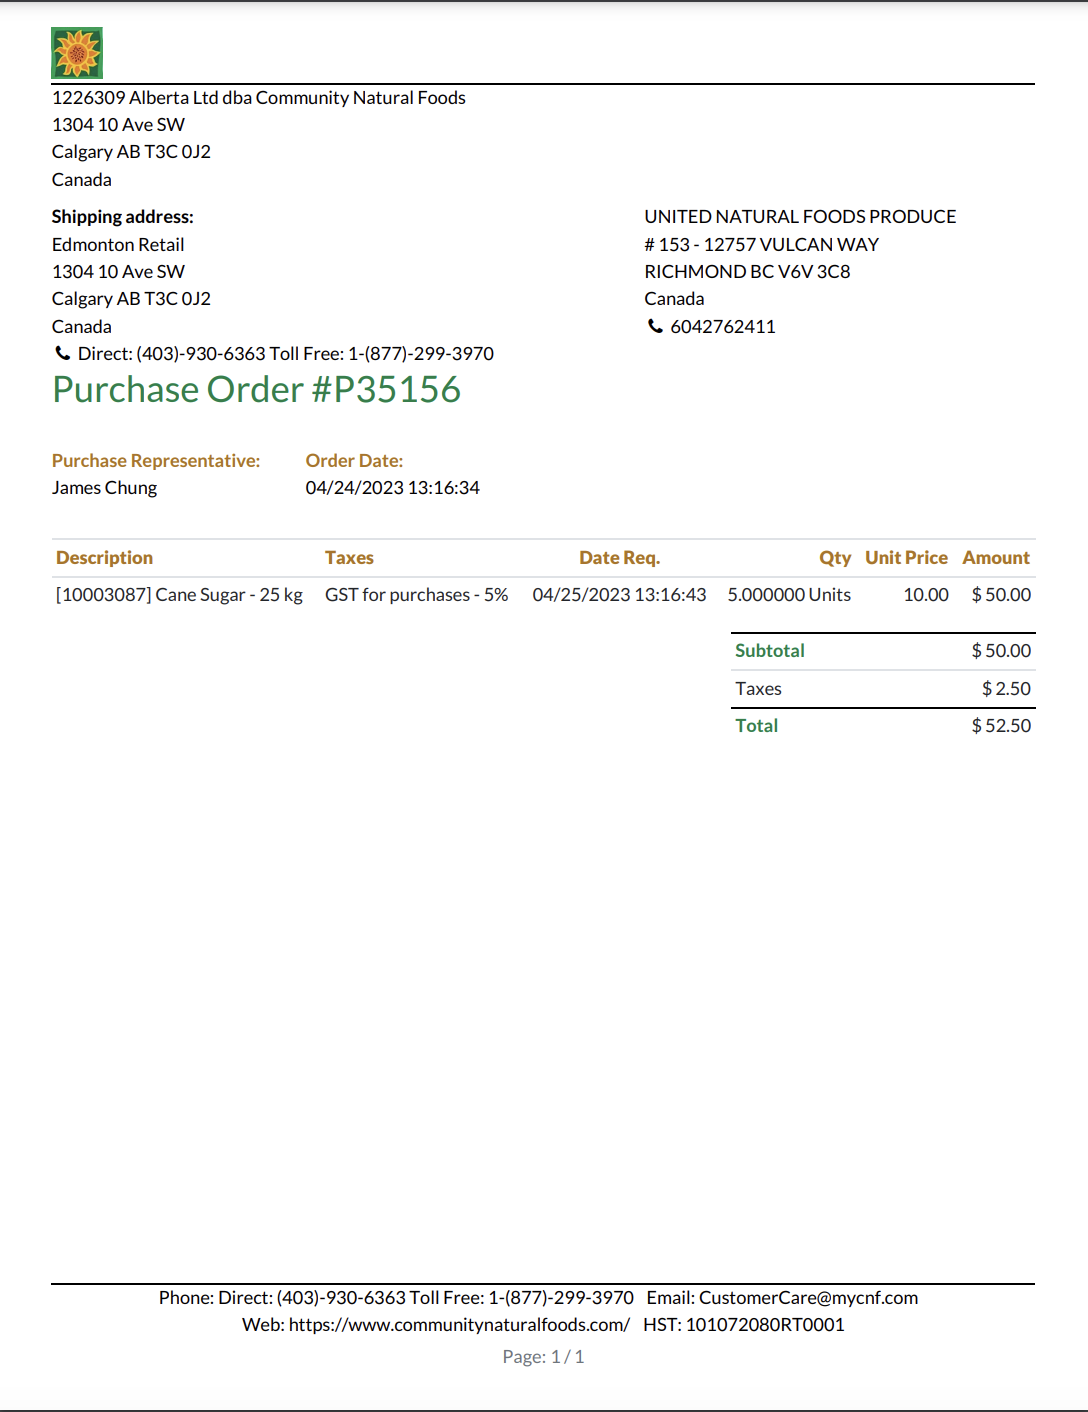
Printing a Purchase Order
You can generate a PDF of the Purchase Order to review how the PO will look when your vendor receives it. Click the Print menu, then select Purchase Order.
After Confimation
Available Actions
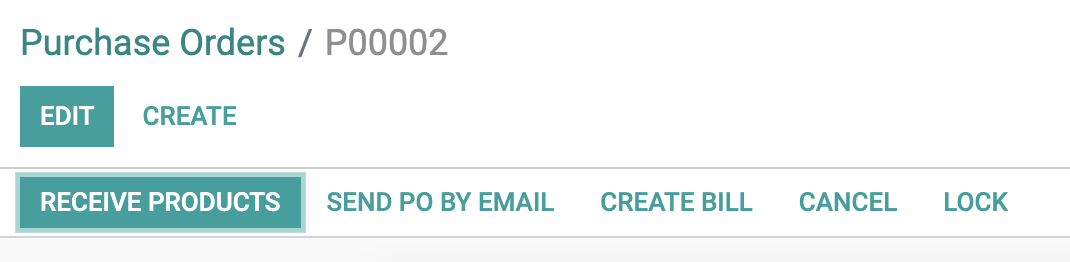
SEND PO BY EMAIL: Open email template that can be sent to the vendor
CREATE BILL: Open template to create vendor bill
CANCEL: Cancel purchase order
CHANGE: Add, change or cancel a PO line
RECEIVE PRODUCTS: Open stock transfer to receive the products
LOCK: Lock the purchase order for any editing
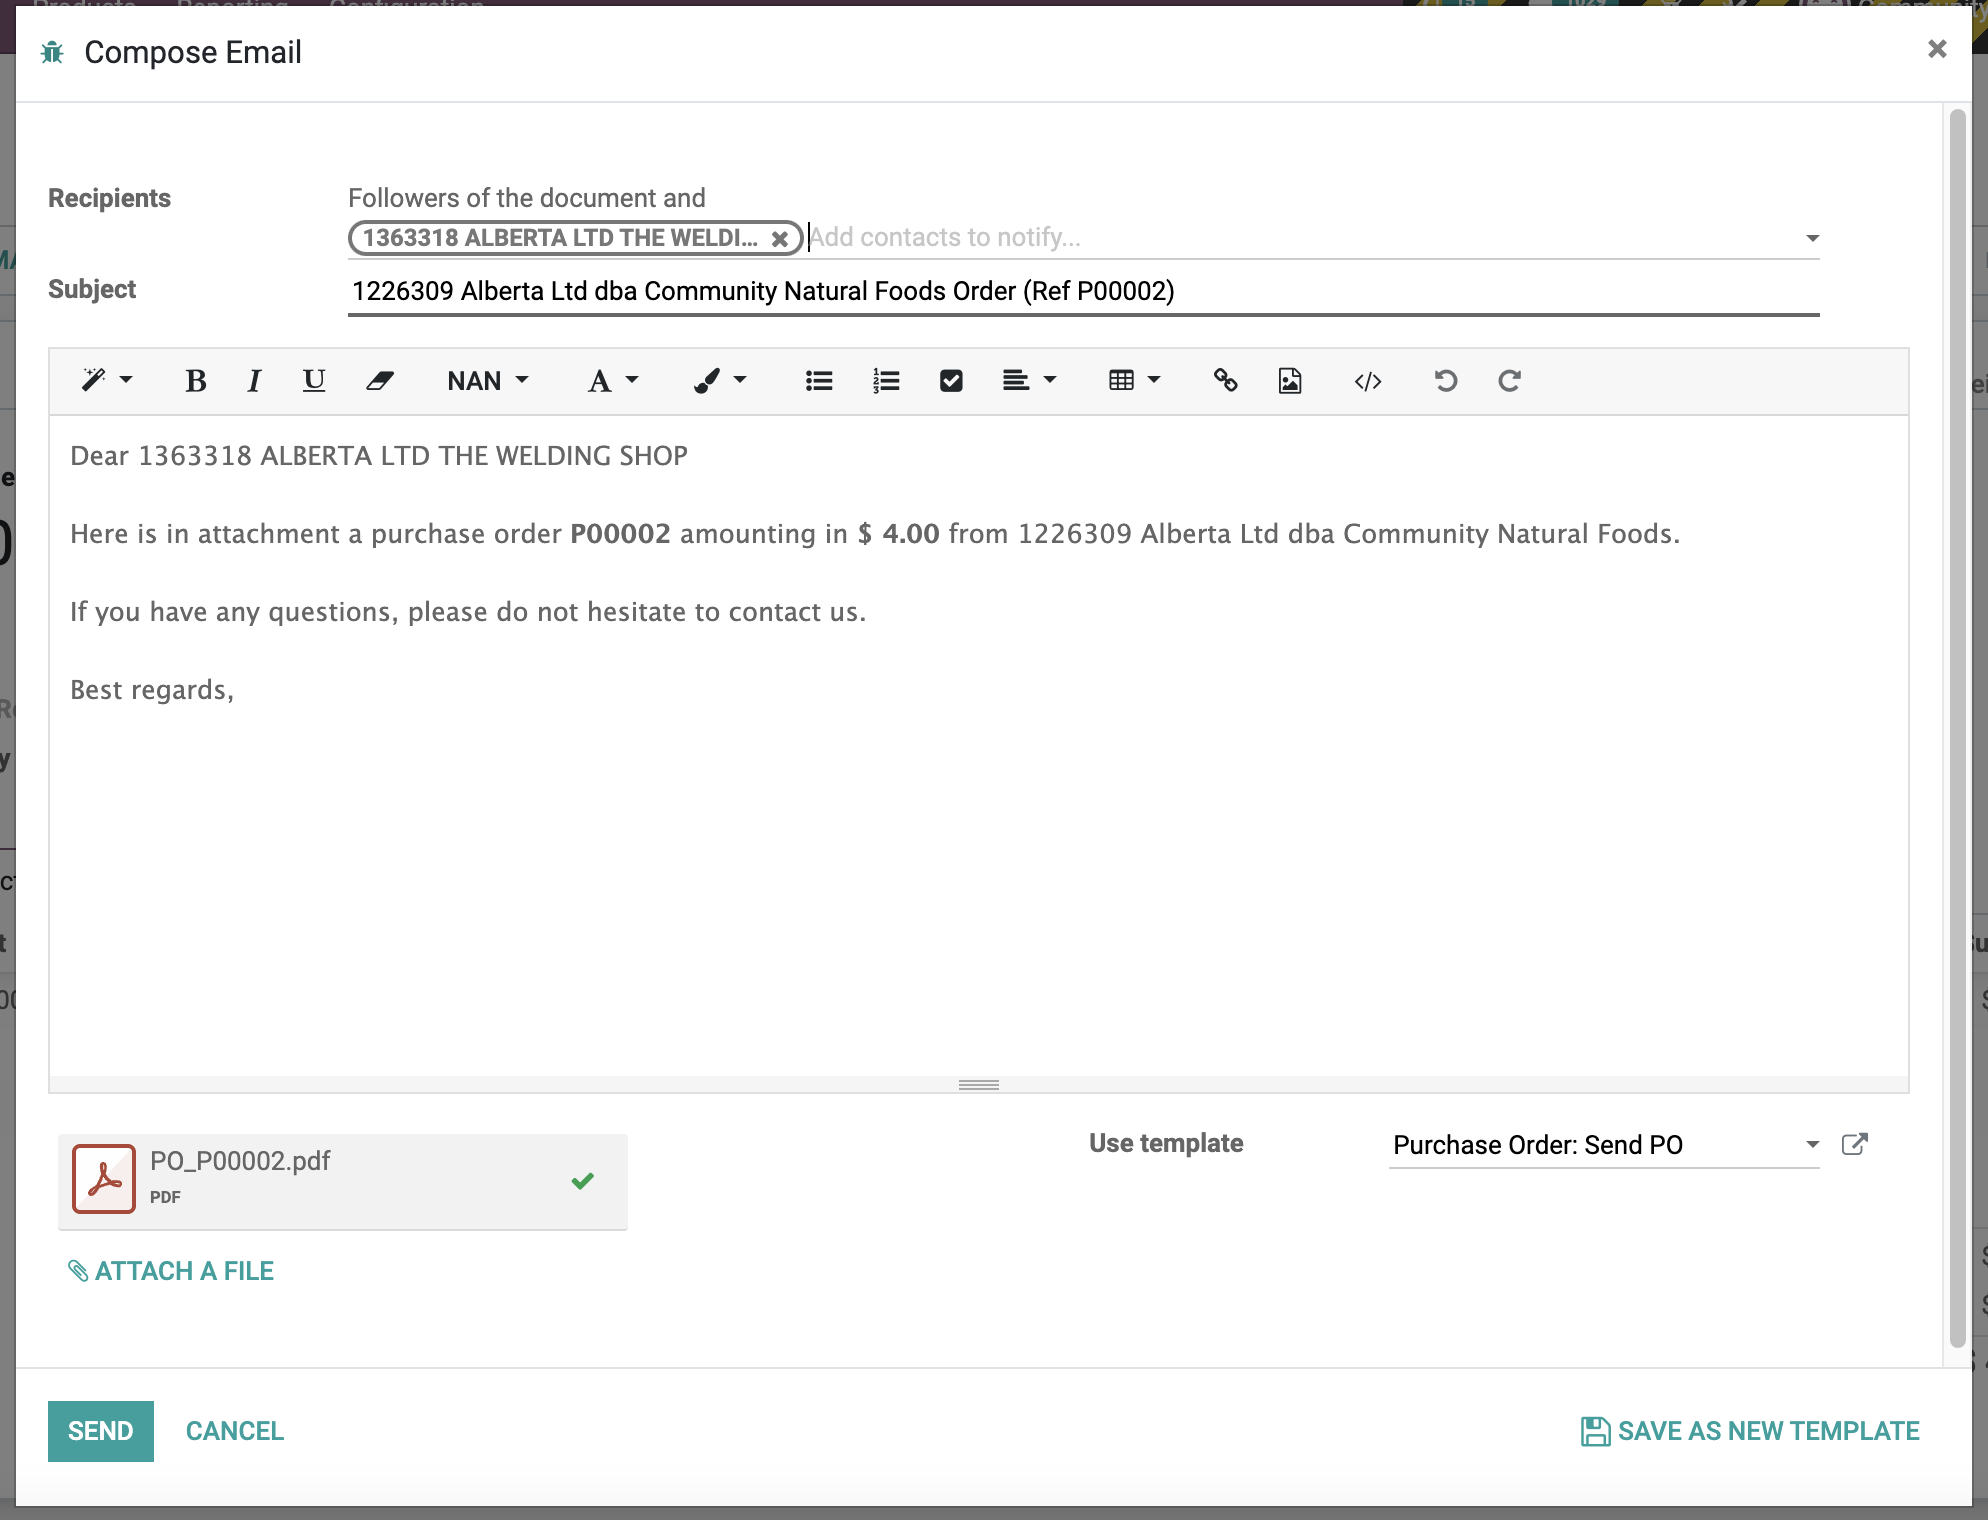
Send PO email to the vendor
SEND PO BY EMAIL button will open email template to be sent to the vendor
You can click on the attachment to preview the PDF the vendor will receive.
Add, change or cancel a PO line
You can CHANGE or cancel individual PO lines after the order has been confirmed.
- To add an item, click Edit and add an item to the order.
- To cancel an item, click Edit and set the quantity to zero.
- To modify the quantity, click Edit and modify the quantity ordered.
Note: When reducing a quantity that has already been confirmed, the Delivery Receipt will remain at the previous level as before.
After making changes to the PO, click Save and send the PO to the vendor via e-mail.
Receive Products
RECEIVE PRODUCTS button will direct the user to stock receiving screen
NOTE: Can also be accessed by clicking on Receipt button on top-right (Number represents number of transfer records open for the purchase order)
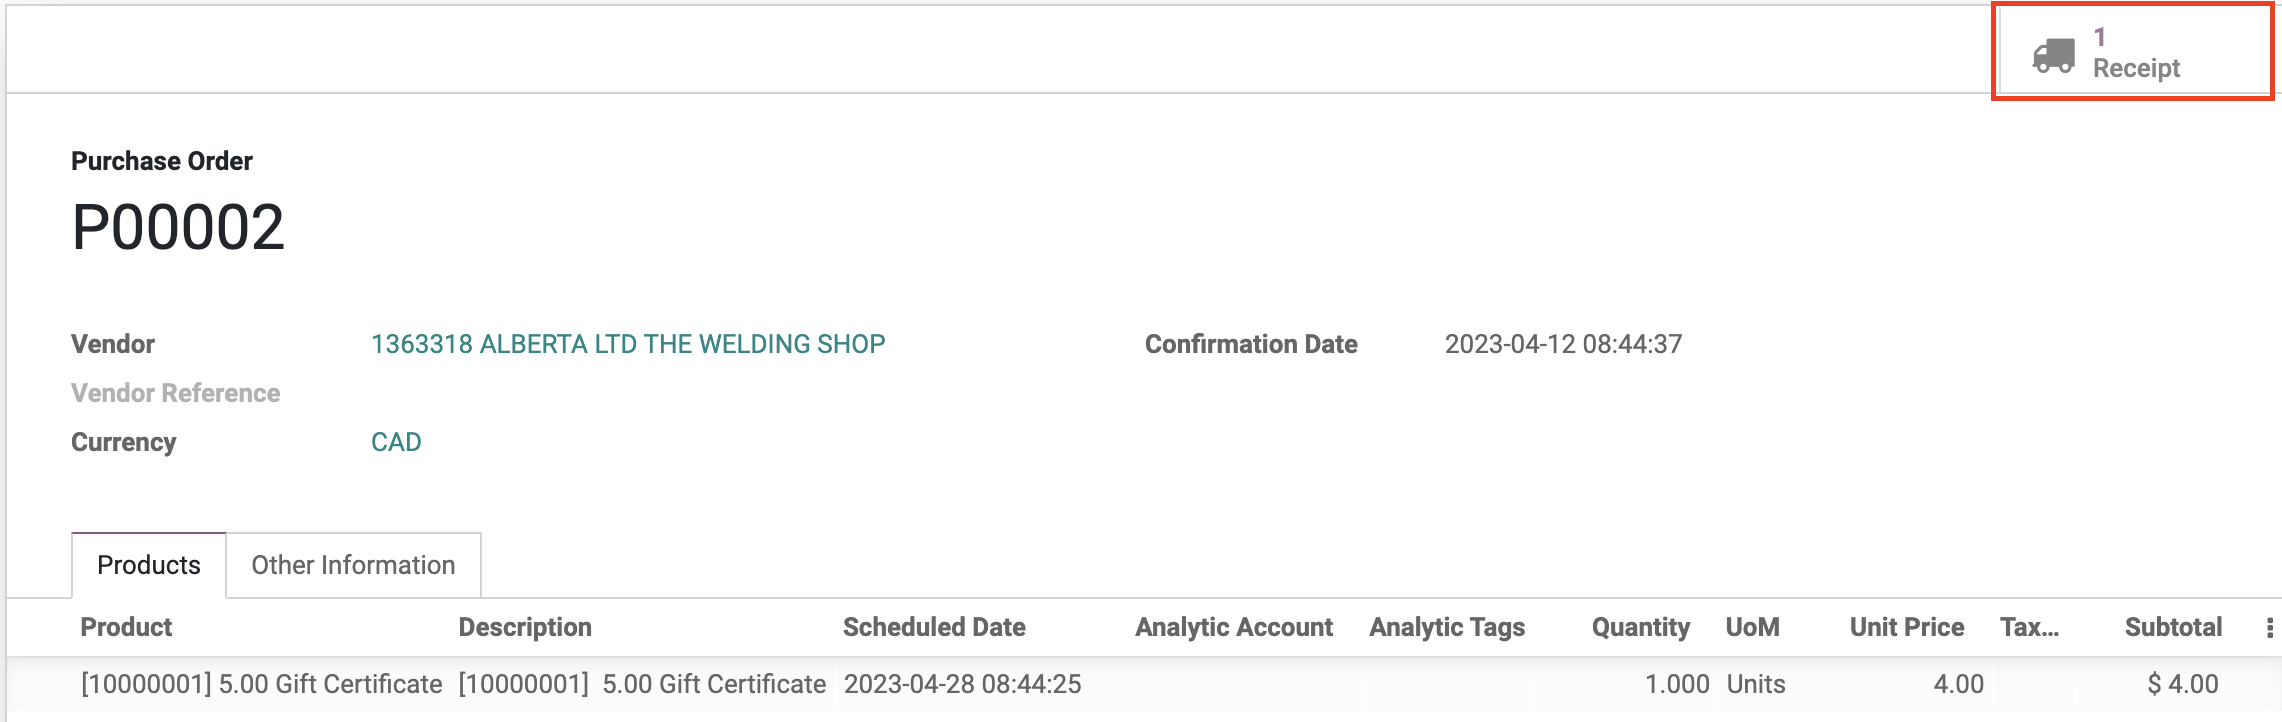
Transfer Screen
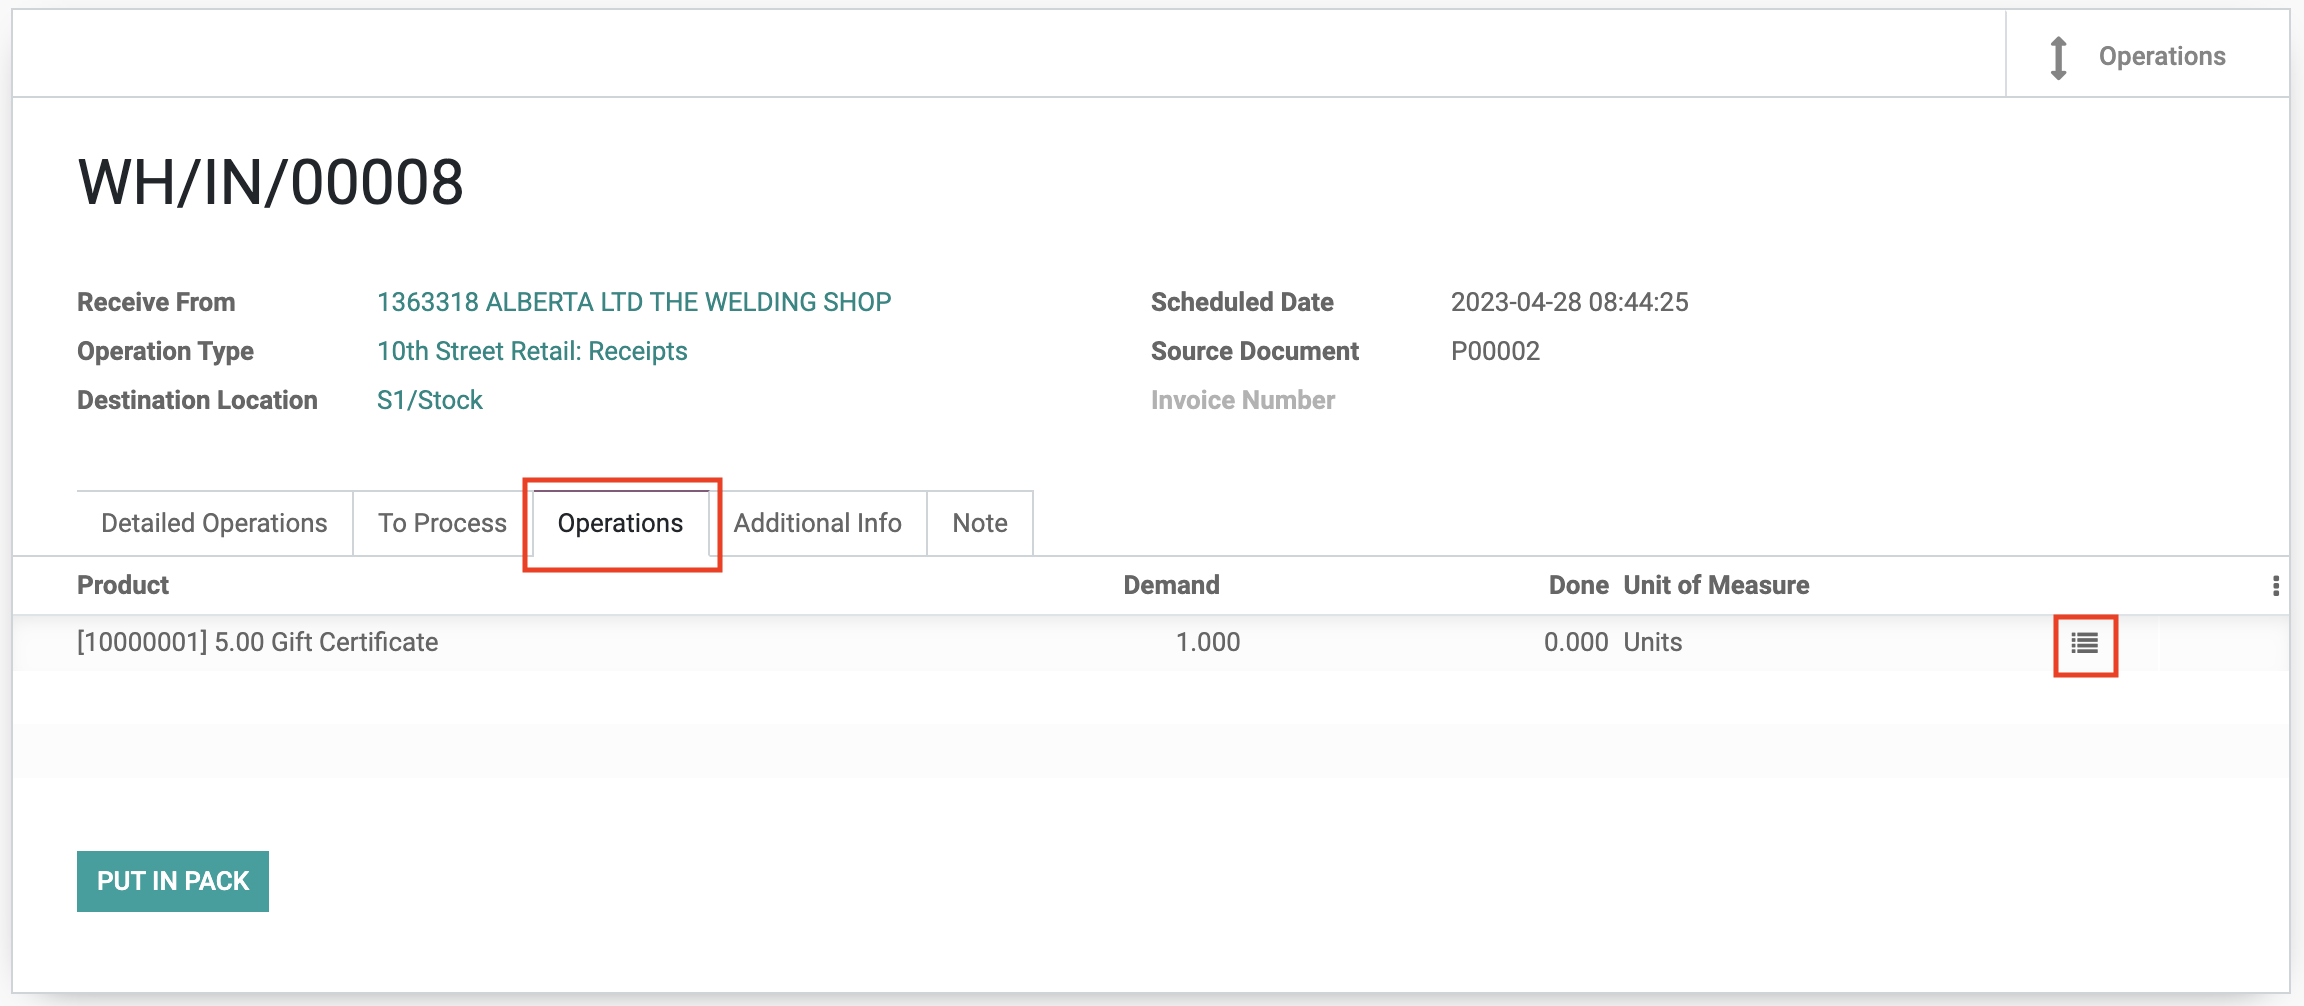
Under Operations tab, user can click on small icon on the right side of each line to open window to enter Detailed Operations
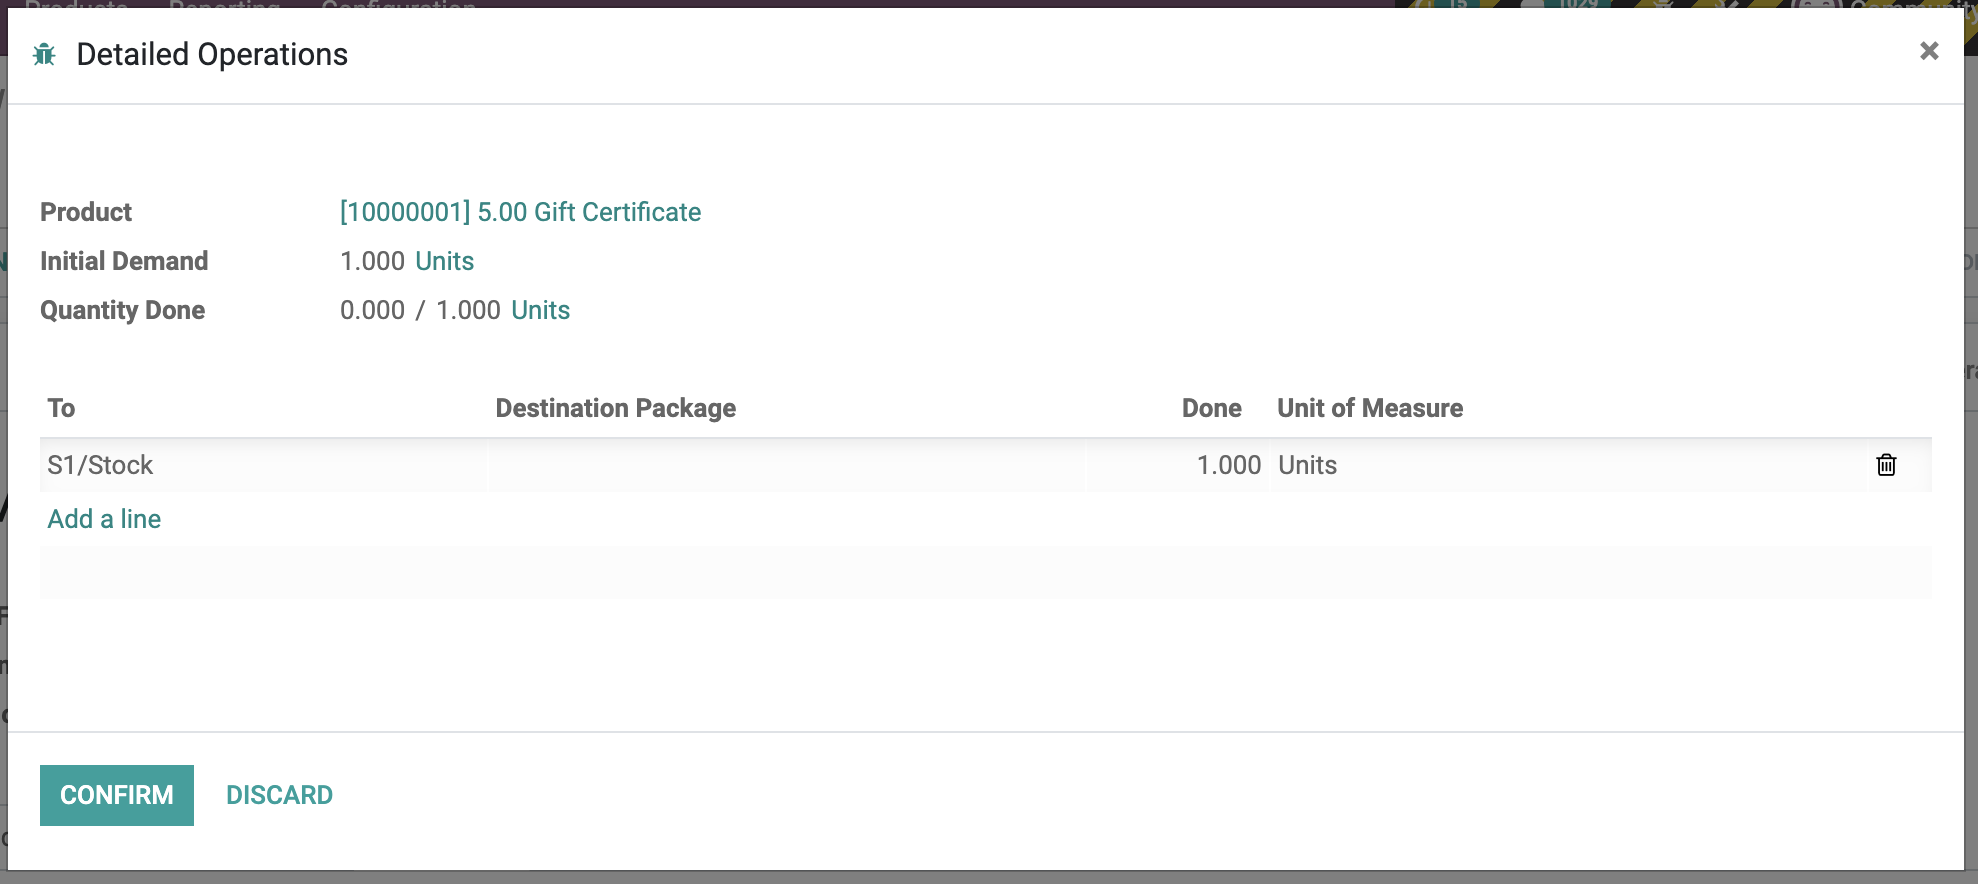
Add a line will allow user to input quantity received for the product (record under Done)
To is the location where the stock will be received
Once all information has been recorded, click VALIDATE to finish the receiving