Creating a Vendor Bill
Navigating to Vendor Bills
To get started with creating a Vendor Bill, navigate to the Accounting app in Odoo:
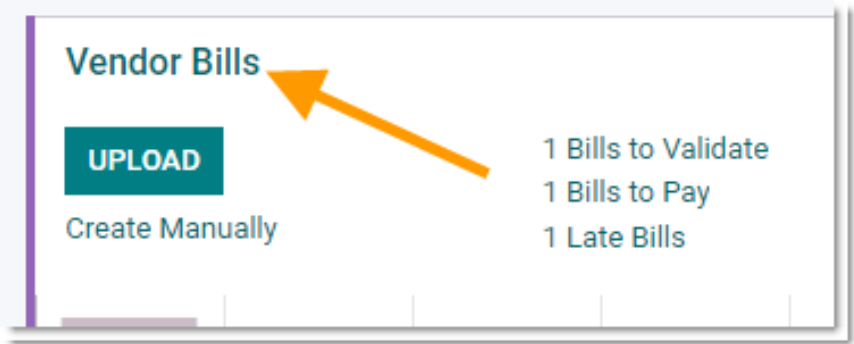
Go to Vendors > Vendor Bills.
TIP: If you are entering a recurring bill from a vendor, instead of creating the bill from scratch, duplicate the previous bill using the Action menu.
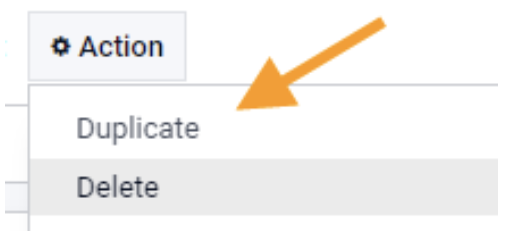
The duplicated bill will have most items already selected for you, reducing the amount of data entry.
From the Vendor Bills screen, click Create.
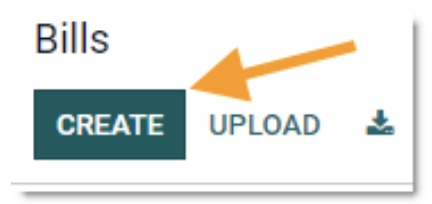
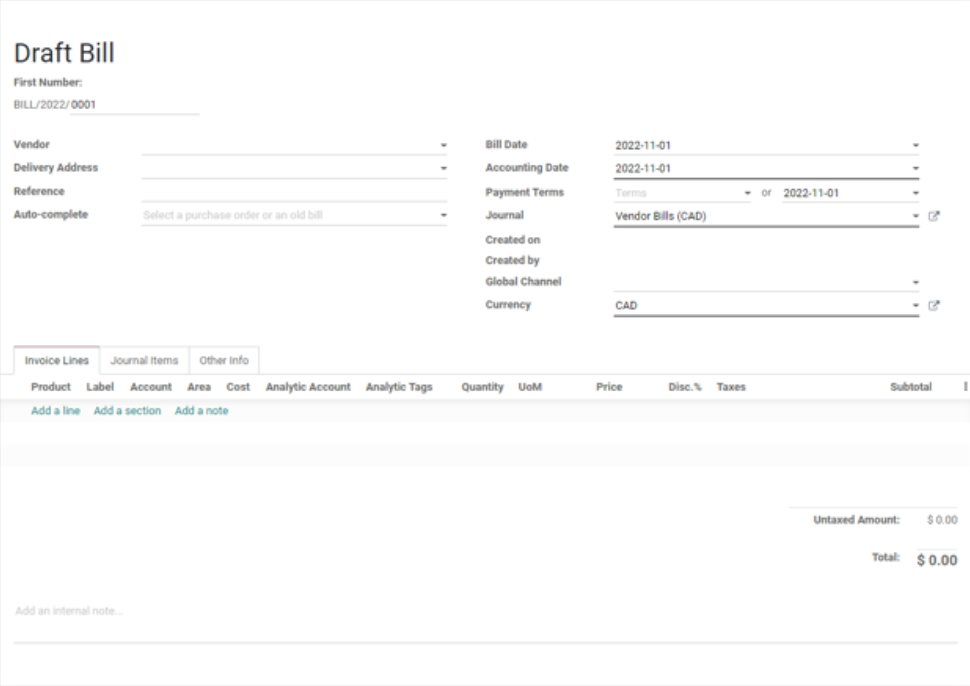
You'll be presented with a Vendor Bill form view.
Vendor Bill Workflow
NEW
| Activity | Status | Team |
|---|---|---|
| Vendor Bill | Draft | Accounting |
| Vendor Bill | Validated | Accounting |
| Vendor Bill | Paid | Accounting |
A Vendor Bill can be received after or before the delivery is received by the warehouse.
Entering Bill Details
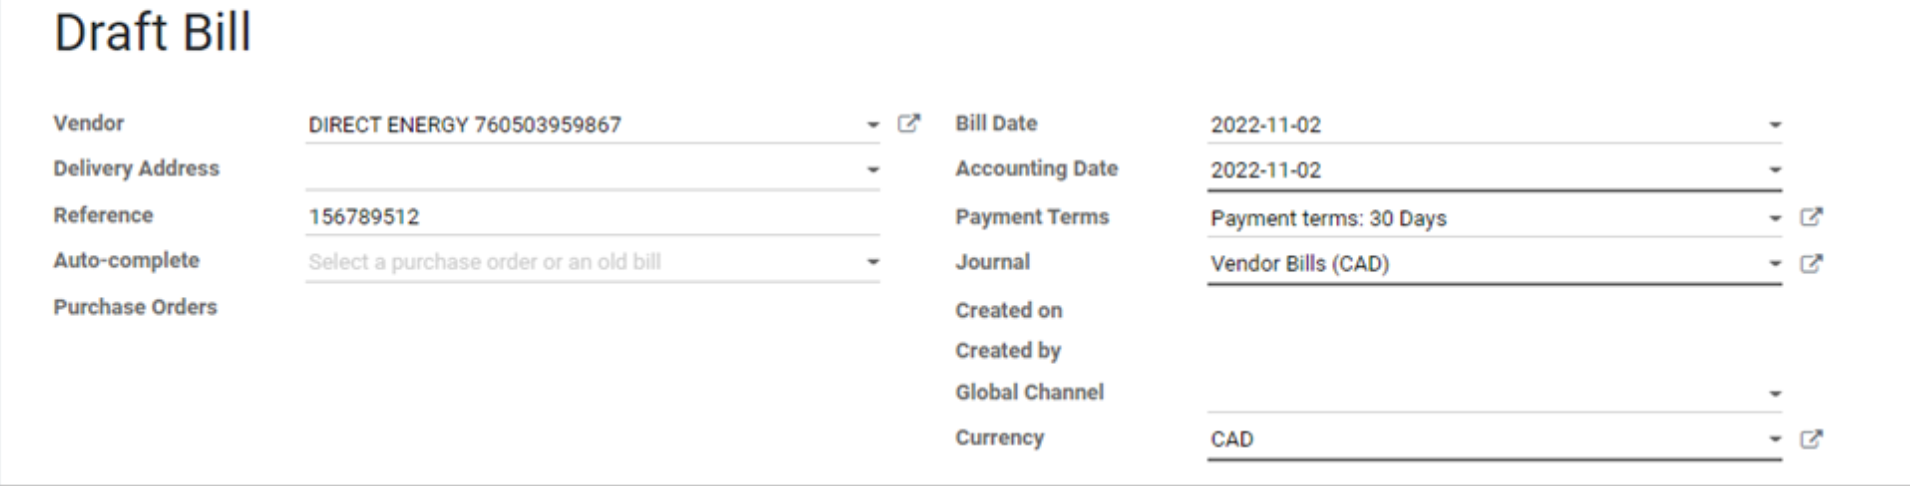
Begin by filling in the bill's header data, such as:
- Vendor
- Bill Date
- Payment Terms
- Invoice number (entered into the Reference field)
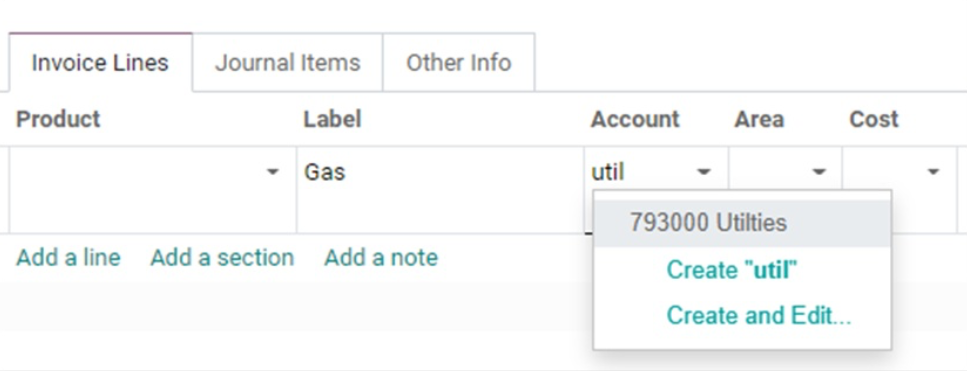
Then begin adding new lines to the bill to allocate the value to the Account, Area (Location), Cost Center, and Analytic Account.
Saving and Posting the Bill
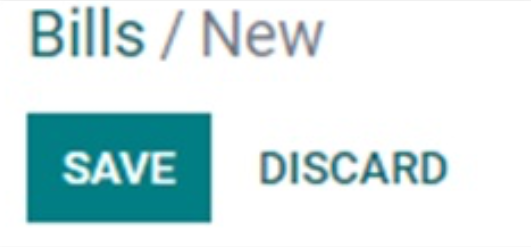
- Once you have verified the details, click Save to save it as a draft bill for validation later.
- Alternatively, click Post to validate the bill as a new journal entry in the General Ledger.
Company Information:
Community Natural Foods Head Office
AB, Canada
Website
HST: 101072080RT0001